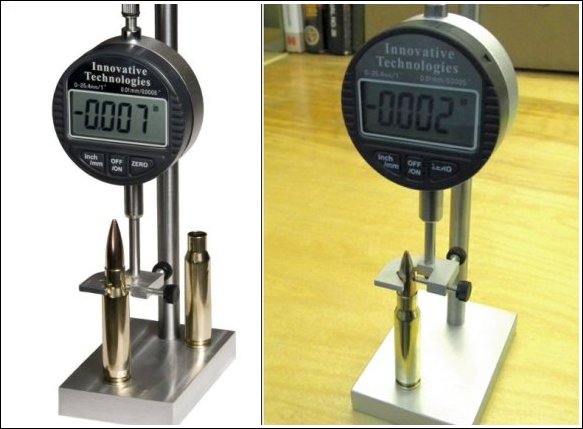
Why measure headspace?
Setting the height of your resizing die properly ensures that your handloads will have the ideal clearance (at the shoulder) in your particular chamber. However, this means going beyond reading the instructions that came with your dies. When your cases fit perfectly in your chamber, it extends the life of your cases by eliminating excessive brass resizing. It can also deliver more consistent accuracy.
Why measure OAL back from the bullet ogive?
Most bullet tips vary too much to allow accurate OAL measurements. Measuring back from the bullet ogive gives more accurate readings, and it also exposes irregular bullet shapes and problems with inconsistent seating depth. This gauge also helps measure your bullet "jump" to the rifling. Solving these problems will always increase accuracy.

Operating Instructions
This digital headspace gauge is designed to measure the "clearance" between the shoulder of your handloads and the front of the chamber in YOUR particular rifle. You can take this measurement from anywhere on the shoulder. This is accomplished by first measuring a case that was fired in your chamber and pressing the zero button on the digital indicator. Then you're setup to measure your handloads, and see exactly how they compare to your "known" chamber size. The digital indicator will then display the exact headspace clearance of your handoads in your particular chamber. (This should not exceed .002") This gauge provides uniform downward spring pressure, and that makes it quick and easy to get accurate measurements. It can also measure seating depth at the bullet ogive.

