Mounting a Rifle Scope ( Correctly )


      Mounting a scope can be a much bigger job than most shooters realize.

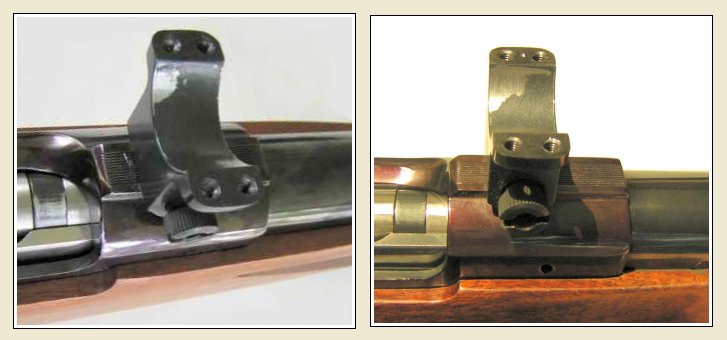
      This is a left-handed Ruger Model 77 Mark ll (.270 Win.) that I built for a friend.   He wanted to use a 3.5 -10X Leupold scope with a 50 mm front lens.   That required taller scope rings.   Then it needed a stock with a higher cheek piece to enable a comfortable shooting position.   I inletted, glass bedded, and finished this custom stock.   This stock received the full treatment (minus the checkering).   I set the trigger just under 2.5 pounds, and then I mounted the scope.

      You can see that the eye relief on this rig can only be corrected by some slight adjusting of the stock dimensions.   There's a lot to consider when mounting a rifle scope.   Some shooters think that the onlt consideration is the bolt clearance at the rear of the scope.   That's only part of the story.   Left-handed rifles usually look weird to me, so I've reversed the next few pictures of this same rifle to make things look better, and I'll show you the best way to mount a rifle scope securely.

( Left-handed shooters . . . . use your imagination. )


      This shows the tools required to ensure that your rings
are aligned properly.   This needs to be done before any
reaming can be done on the rings.


      This is where mounting a rifle scope gets interesting.   You may wonder why scope rings get so far out of alignment.   There are many reasons.   Each rifle and set of rings is made to specific dimensions.   However, they are also made to production tolerances.   This means that there is a plus and minus variation that is acceptable when parts are made.

      Scope rings are usually designed to fit several different types of rifles.   This sometimes affects the way they line up, but no one should expect ANY set of rings to be perfect - unless you make them that way.   Fortunately there is a solution that can improve the mounting of your scope.   These unusual looking tools allow you to check the alignment of your rings.


      This shows the reamer that's required to cut scope rings,
so that they'll have a concentric alignment and more contact surface.


      This expensive reamer (available from Brownells), an open-end wrench, a plastic mallet, and some cutting oil will get you started.   After a few turns of the reamer, you'll be amazed to see how little "actual" contact there is with the scope.   If you think your scope is secure without performing this step - this article should make you think again.

      Don't be fooled by how wide your scope rings are, or how many screws they have.   If your scope rings are not trued up and fitted properly, you will usually have a very small surface that actually contacts your scope.   Sometimes the actual contact surface is just a few thousandths of an inch along the edge of your rings.   The solution is NOT to tighten the rings until your knuckles turn white.   Most of us have seen used scopes with ugly "ring marks" where they were bolted to rifles that never had the rings fitted properly.   That kills the value of a scope.   It's far better to get this job done right.


      These pictures show how little actual scope contact there is on a good set of rings.

      The picture on the left shows a scope ring that has been reamed for 3 or 4 minutes.   This scope ring now shows more contact surface than most rings provide.   You can imagine how easy it would be for any hard kicking rifle to shake this scope loose.   The picture on the right shows what this ring looked like after another 5 minutes of reaming.   It still has a very LONG way to go.

      This is a job that requires a lot of time and patience to get it done correctly, and it's a slow process.   Most shooters might want to leave this project for a good gunsmith.   I consider this to be a manditory procedure for reaching consistent accuracy.


Take a look at more Tech Tips ...


Visit our homepage at WWW.LARRYWILLIS.COM